BALI: How I Made a 5-Minute AI Folk-Horror Film
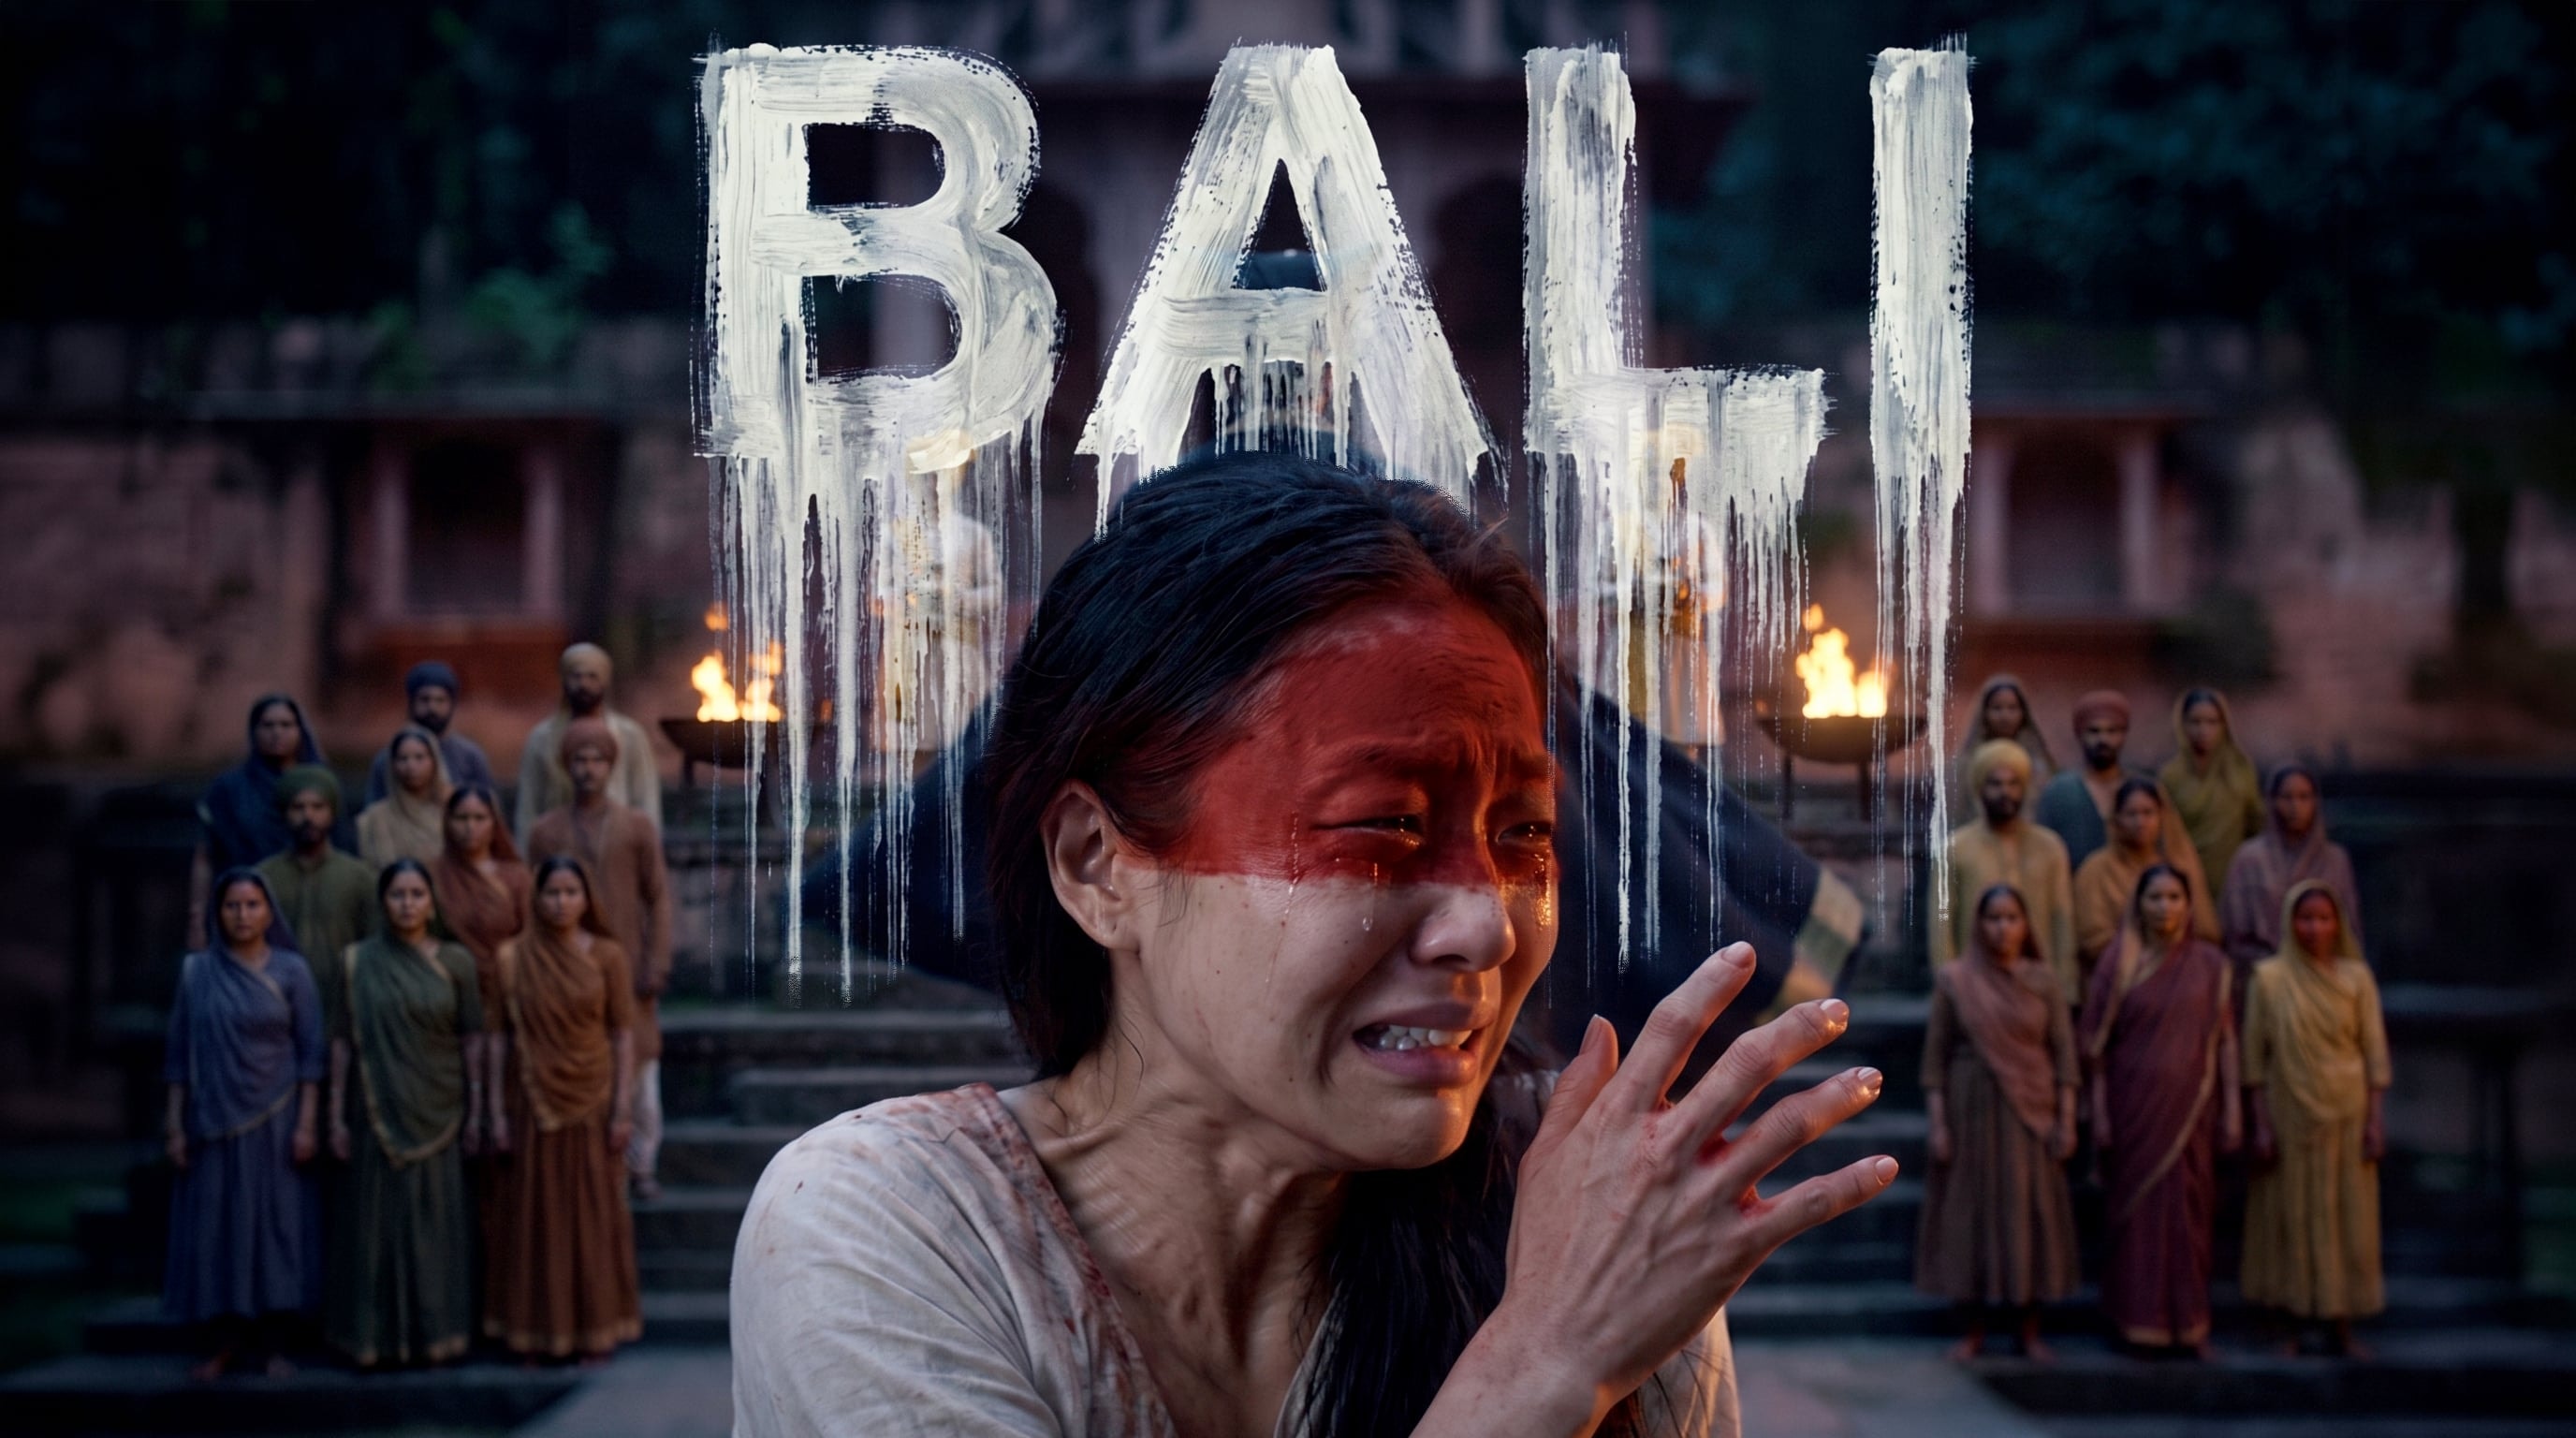
BALI is a five-minute folk-horror short I made on my own with AI. This post is the nuts and bolts of it: how I kept the main cast and a whole line of undead kings looking like themselves, how I built three locations that survive any camera angle, and how four of the hero shots were put together.
The project in numbers
5 min 19 s runtime · 3,625 generations · about 30 GB of assets · one person · one project
| Model | Used for | Share of generations |
|---|---|---|
| Nano Banana Pro | Casting sheets, face plates, location plates, anchor frames | 95.4% |
| Seedance 2.5 | Narrative video, multi-shot sequences | 2.9% |
| Kling 3.0 | Close performance shots | 1.0% |
| Wan 3.0 | Close performance shots | 0.3% |
| Soul (Cast and V2) | Early character tests | 0.3% |
| Seedance 2.0 | Early video tests | 0.1% |
If you take one number from this, take this one. Roughly 19 out of every 20 generations were stills. Video is where the credits go, so I tried to solve every problem with an image before a video model ever saw it.
Keeping every model in one workspace helped more than I expected. Sheets, saved references and video takes sat in the same place, and nothing had to move until the edit.
In this post:
- ●Casting sheets that hold a face
- ●One job per reference
- ●The shot-brief structure
- ●Four hero shots
- ●Fixes for drift
- ●What I'd change now
Before You Start
The whole film is reference-locked, and I always worked in this order:
- Casting sheets and face plates, saved as reusable references
- Location plates, saved as reusable references
- One approved anchor frame per setup
- Every shot generated against those
Three rules
- ●One face source per character. Give the model two and it blends them, and you end up with his cousin.
- ●One job per reference, and say what to ignore. Most of my drift came from two references fighting over the same thing.
- ●Don't reuse a finished frame for a new angle. It brings its lighting and staging along with it.
Stage 1: The Characters
Every character has a casting sheet for build and wardrobe. The main cast also have a face plate, which is only for the face. Both are saved as reusable references, and in video prompts they never do each other's job.
1.1 Anatomy of a casting sheet
All my sheets follow the same sections, in the same order:
| Section | What goes in it |
|---|---|
| Session framing | Camera or film stock, lens, "unretouched" |
| Layout | Which view goes in which frame |
| Lighting | One setup, identical in every frame |
| Subject | Age, origin, background |
| Build | Height, frame, posture |
| Hair, face, eyes, teeth, skin, age | One block each, physical and specific |
| Wardrobe and accessories | Item by item, with fabric, fit and wear |
| Film character | Grain and colour response |
| Consistency | "Same person, same session, same clothes, same light" |
| Negative | Every drift I'd seen, named one by one |
Four things made the biggest difference.
- ●Describe a real photo session. Writing "35mm camera test, Kodak Portra 400, Noritsu scan, unretouched" gets you real skin and grain. For Vikram I described a digital session instead (Sony A7R V, 85 and 50mm, f/5.6), which gives him a colder, more polished look.
- ●Insist on a true full body. Head to toe, both feet on the floor, space above and below, and a contact shadow. Leave any of that out and the feet get cropped.
- ●Give each character one defining feature. Vikram's moustache, Hannah's freckles, Jay's hazel eyes. It's the first thing I check in every take.
- ●Add one tiny marker. Vikram has a 3 mm mole on his jaw. If it moves, I know the face has drifted.
1.2 Jay
Jay is 33, Indian-American, slim, and lives in oversized clothes. Here's his sheet prompt, condensed (Nano Banana Pro):
1.3 Hannah, in three stages
Hannah's look changes as the story goes on, so she has five images across three stages. I built each stage from the sheets before it rather than starting fresh, and each one became its own saved reference.
Stage A: arrival. She's 27 and Korean-American, with freckles, amber tortoiseshell glasses, a messy bun, a sky-blue overshirt and wide cream trousers. Because her heritage is mixed, the subject block spells out exactly how it shows: Korean bone structure, with her North Indian father coming through only in her warm colouring and fuller brows. The negatives rule out every other reading.
Stage B: the white sari. This prompt starts with her face and points at one specific panel of the stage A sheet, the bottom-right front view without glasses. Then almost everything else changes. Her hair is loose and down to her shoulders, she looks exhausted, and the plain white sari is badly worn and dirty at the hem. A long "no colour" list (no red, no sindoor, no stains) keeps it clean, which matters for the next stage.
Stage C: the bride's red. This was the hardest sheet in the film. It's built on a reference map, four inputs with one job each:
There are two reds here, and the prompt separates them by material rather than by colour. The powder on her forehead is dry, opaque, matte and grainy, with a ragged edge. The dye on the sari is wet, glossy and see-through. It's poured from above, so about 70% of the sari is red, fading out towards a white hem. On her skin it's a thin wash, and you can still see her freckles through it.
Image 4 comes from a finished hero shot. The marking happened in video first, and then I updated her sheet to match it, so every shot after that carries exactly the same mark.
1.4 Vikram
Vikram is 34, Rajasthani old money, educated abroad. I described his sheet as a digital session so he'd read colder than the couple. His moustache gets a whole block to itself: thick, oiled, swept up past the corners of his mouth, "the one thing about him that has not been Westernised." He wears an oatmeal bandhgala over emerald silk, white trousers, olive suede loafers, an inherited watch and a worn signet ring.
He has two looks, so three images: the bandhgala sheet, his face plate and a sheet in black Indian attire.
1.5 The undead kings
There are five sheets, one per king. Each king was designed on three dials: the era he ruled in sets his costume and armour, how long he's been dead sets the decay and the layering of the ooze, and whether his reign was peaceful or at war sets his build. Here's a condensed sample, the War-Captain King, who has been dead for about 340 years:
Three things in there I'd reuse on any project. The ethnicity lock on the face is there because the model kept drifting undead faces towards European ones. The two layers of ooze let a single image say "centuries dead". And "falling apart but never holed" ages a costume without tipping it into gore.
Stage 1b: The Locations
Each location lives on one multi-angle sheet, saved as a reusable reference. Four or six views in one image means a single reference slot carries the whole layout of the place.
Two rules for every location sheet
- ●Keep it empty. No people, no fire, no props from a scene. Those get added shot by shot.
- ●Make it readable. Light the sheet so you can actually see the architecture. The mood can come later, from the shot prompt or a separate light reference.
The sacrifice ground
This one took two steps.
Step one: the mood plate. A Rajput fort precinct swallowed by jungle, at night, lit by moonlight coming through the trees. What made it work was one idea: the fault in the bedrock was there first, and the builders built around it out of respect. So the masonry is perfect right up to a dressed edge, then there's raw rock, and then the hole. Two square platforms hang out over the drop with no railing.
Once the model is told the fault came first, it keeps the stonework intact. Without that, you tend to get cracked paving and rubble. The negatives back it up with no broken steps, no rubble and no straight-edged pit.
Step two: the survey sheet. With the mood plate attached, I asked for a bright 2x2 survey of the same place:
The night look goes back in when I generate the shot. If the reference is dark, the model can't see the geometry, and honestly neither can you.
The stepwell
The stepwell carries the last act, so it got the most detailed sheet: six cells, starting with a wide from the hillside and ending at knee height at the bottom of the well, each with its own lens. All six cells share one description of the place. It's 38 m across, eleven storeys and about 30 m deep, with pink sandstone at the top, pale grey steps below, a waterline scar six storeys down and black sludge at the bottom. I repeated "no water anywhere" more than once, because the model really wants to fill a stepwell.
The Hotel Lobby: when the sheet has to be built by hand
I couldn't get one generation to keep the dome, the double staircase, the painting, the fountain and the ledger consistent at the same time. So I generated them separately, stitched the sheet together in post and matched the stone, light and colour by hand. The finished composite went back in as a saved reference.
The cells cover the rotunda wides, the dome and oculus, reception, the seating area, the painting and two close-ups of the ledger.
A generation is where a sheet starts. Cropping, stitching and painting things out are part of the job, and the time comes back to you in every shot that uses the sheet.
Stage 2: Writing the Shot Briefs
Every video prompt in BALI is a sectioned brief, often longer than 1,000 words. I wrote them with plain Claude and pasted them into the video tool.
What I gave Claude for each shot
- The shot's intention
- The reasoning, and the feeling it should leave
- The expected visuals
- One line per reference and its job
- The references themselves, attached
Before generating, I read each brief against the saved references to catch anything that didn't match.
The sections
The sections never change, and each one has a single job:
| Section | Its job |
|---|---|
| STYLE | Camera, lens, grade, grain; what it must NOT look like |
| SCENE CONTEXT | Length, resolution, aspect, frame rate, shots and hard cuts |
| ACTIVE REFERENCES | Each reference and the one thing it controls |
| The special element | Whatever must behave correctly: dancers, water, ground, powder |
| TIME AND LIGHT | Time of day and light, identical across shots |
| SHOT 1, SHOT 2 ... | Timecoded, one camera move and one beat each |
| PERFORMANCE | How people move and react |
| CONTINUITY | What must match shot to shot |
| PHYSICS | How cloth, water, powder or bodies behave |
| TECHNICAL | Frame rate, motion blur, no stutter, no warping |
| AUDIO | What is and isn't on the track |
| CONSTRAINTS | The hard "no" list |
| POSITIVE LOCKS | The key rules, restated at the end |
The end of a long prompt seems to get as much attention as the start, so I restate the most important rules there.
Reference rules
This is the heart of the method. Every reference gets one job, and the prompt says what to ignore:
A few patterns kept coming up:
- ●Build from the sheet, face from the plate.
- ●Architecture from one image, light from another. The stepwell sheet is in daylight, but the flood happens before dawn.
- ●"Ignore the grid." Leave that out and you sometimes get a split screen back.
- ●Wardrobe can be overridden. At the pool, the sheets set everyone's build, the prompt sets the swimwear and the plates set the faces.
Anchor frames and frame locks
For hero shots I first make a single still with Nano Banana Pro from the same saved references, to settle the angle, lens, light and composition. Once I'm happy with it, it goes to the video model in one of three ways:
- ●As the exact first frame: "Begin from this frame."
- ●As the first and last frame: "End on this frame." I did this for the marking.
- ●As a waypoint: in the nightmare, the anchor "approximates the framing the camera arrives at near the END of shot 1."
Audio is planned per shot
Every brief says what should be on the audio track. Most say "NO MUSIC, SFX only", and the pool scene is dialogue only. The score went on in the edit, which kept the clips easy to cut.
Stage 3: Four Hero Shots, Broken Down
These four came out close to what I asked for, so the prompts explain them pretty well.
Hero shot 1: the marking
A kneeling woman is marked with red powder by a man standing behind her, who then turns away. Six seconds, one locked-off take in slow motion, Seedance 2.5.
| Reference | Its one job |
|---|---|
| Image 1 | The exact first frame |
| Image 2 | The exact last frame |
| Image 3 | Hannah's face, zero drift |
| Image 4 | His costume and build (his head is never in frame) |
The timing is written in seconds, and each beat starts as the previous one ends:
The line that made this shot work was about slow motion. Just asking for slow motion gave me a slow, hesitant actor. So the prompt says the action is performed at full force and real speed, filmed at a high frame rate and played back slowed down. The negatives then rule out both a gentle touch and a strike.
The powder has its own physics block. It's dry and matte like flour, it bursts into a cloud and falls in clumps, and it's never liquid, blood, orange or pink. That's what keeps the moment feeling like a ritual instead of gore.
Hero shot 2: the stepwell rises
The dry well floods from below, from a seep to a surge. Twenty seconds, five hard cuts, going from macro to full wide, Seedance 2.5.
| Reference | Its one job |
|---|---|
| Image 1 | The stepwell reference: architecture and materials only. Ignore its daylight, sky and grid |
| Image 2 | Cold pre-dawn light and colour only. Ignore anyone in it |
Three things hold it together.
- ●The floor is described as a material. "NOT a stone pavement. It is wet murky soil." That gives the water something believable to come up through.
- ●Escalation is written as a rule. "Every shot moves faster than the one before it." Then each shot describes its own pace.
- ●It ends mid-motion. The water never settles, because the shot has to cut into the next sequence.
The physics block allows a supernatural speed but asks for real matter, with weight, silt and foam only at the leading edge, and no jets or waves coming in from the side. The audio is effects only, with a roar that's still climbing on the last frame.
Hero shot 3: the arrival
Jay and Hannah walk into the rotunda through a crowd of spinning dancers. Ten seconds, two shots, slow motion, Seedance 2.5.
The full prompt, as I pasted it into the video tool:
Crowds fall apart easily, so the dancers have rules. Each one holds her pot in one hand only, and nobody touches the fountain or the ring of marble around it.
The two shots are deliberately opposite. The first looks straight down from the dome, so the skirts turn the star inlay on the floor into a mandala. The second glides along with the couple at chest height, with dancers blurring past in the foreground. I also ruled out staff, drinks and Vikram, who isn't in this scene.
Hero shot 4: the nightmare
Black, elongated hands rise out of the ground, pin Jay down, wake him and pull him under. Twenty seconds, three shots, Seedance 2.5.
It uses more references than any other shot in the film:
| Reference | Its one job |
|---|---|
| Image 2 | Character, ground, light and grade for shot 1, and the framing the camera arrives at near its end |
| Image 6 | Jay's face. Ignore its backdrop and layout |
| Image 1 | Jay's build and proportions. Ignore its backdrop, poses and layout |
| Image 5 | Main staging for shot 2: the side angle, the hands emerging |
| Image 4 | Secondary staging for shot 2: the hands closing on his body |
| Image 3 | Staging for shot 3: the mass of hands closing on his face |
The staging references are stills I made of each shot's key moment, so the model can see where every shot is heading.
The most important block is about continuity of action:
Without this, a timeline tends to play out like a list: hand, pause, hand. This block asks for the hands to keep coming the whole time.
Two more rules matter. The ground behaves two ways, solid under Jay and liquid only where a hand breaks through. And the liquid is molten metal, heavy and stringy, with no splash. I also left the camera rotation in shot 1 unfinished at the cut. The audio is a single tone that rises from 4.5 seconds and then drops to silence.
Stage 4: What Broke Consistency, and the Fixes
The biggest lesson from the whole project is that structure matters more than length. Writing every shot as a sectioned brief improved my hit rate more than any amount of extra description.
| Problem | Fix |
|---|---|
| Two references defining one face | One face reference per character |
| Finished frame reused for a new angle | Go back to the sheets and plates |
| Grid references return split screens | "Ignore the layout" |
| Cropped feet on sheets | Spell out head to toe, feet on the floor |
| Faces drifting generic | Explicit bone structure, wrong readings in negatives |
| References competing on light | Architecture and light from separate references |
| Location plates too dark | Bright survey sheet; mood in the shot |
| Small details flickering | Lock them in CONTINUITY and POSITIVE LOCKS |
| Sheets that won't come out in one go | Generate cells separately, stitch in post |
Two habits sit behind all of these:
- Fix it in the still. That's why 95.7% of the generations were images.
- Give every problem shot its own folder. Shot 72 alone has 232 assets.
Stage 5: Edit, Grade and Sound
Post was fairly simple, because most of the work was already in the references.
Edit and grade: all in After Effects, including camera shakes, which I added only to the few shots where the story needed them.
| Layer | Source | What it covers |
|---|---|---|
| Production sound | The video model's native audio | Dialogue with lip sync, and each shot's written effects |
| Score | Suno | All the music |
| Extra effects | Licensed stock audio | Anything the generated audio didn't cover |
Since every brief defined its own audio and none of it had music, the clips came in clean and I could time the score properly in the edit.
What I'd Change Now
All of BALI's prompts came from plain Claude. If I made it again, I'd change three things.
1. Give the LLM a skill, not a fresh explanation every time
I'd stop explaining the sections and rules from scratch for every shot. These days I use skills, saved instructions the LLM loads before it starts, which hold the structure, the vocabulary and the reference rules. Then I only describe what's new in each shot.
2. Direct the character's intent, not every second of their action
In BALI I choreographed performances second by second. That got me the actions, but not always the performance.
I've found the models act better when you tell them what the character is feeling, what they want and where the scene sits in the story.
Here's the reaction beat from the marking, written both ways:
I still keep exact timings for cuts, camera moves, first and last frames, and physics. The intent part is for the people in the shot.
3. Show the face in only one cell of a full-body sheet
In BALI the face shows up in every panel of the full-body sheets. That hands the video model several faces at slightly different angles and in slightly different light, even with a face plate attached.
Now I keep the face in one cell only. In the other full-body cells it's cropped out or turned away, so the sheet covers build, posture and wardrobe, and the face plate is the only real face reference.
Final Thoughts
There wasn't one perfect prompt behind BALI. What made it work was locking down everything that couldn't change, giving every reference a single job, and doing most of the work before anything moved. The models will keep changing, but I think that approach will hold up.
If you try any of this, I'd really like to see what you make.